sensory bins with dyed rice
|
This was WAY easier to do than I thought it would be! The hardest part was letting it dry before wanting to run my hands through it! It is also non-toxic (or as non-toxic as food-grade dye can be...) - some dyed rice recipes use rubbing alcohol, which we wouldn't want to end up in the mouths of little ones.
*Adjust the amount of ingredients below to fit whatever container you're planning on using. For instance, if you're using a container that holds 10 cups of rice, use 10 tablespoons vinegar, etc. Ingredients: 1 cup* long grain white rice 1 tablespoon* white vinegar 2-8 drops of food coloring OR gob of Wilton icing gel (adjust amount of coloring to get the shade you want) OPTIONAL: a few drops of essential oil (lavendar is my favorite!) To mix rice in: Gallon-size Ziploc bags (I like the kind with sliders if you are using the same bag multiple times), bowl + spoon OR plastic container with lid For drying: Line multiple cookie sheets, bins or boxes with paper towels Instructions: 1. Pour rice into a gallon-sized ziploc bag, bucket, bowl or large plastic container. I use gallon-size ziploc bags and they're great for shaking all the ingredients together, but if you want to avoid the waste, you could definitely use either a bowl + stirring spoon OR a plastic container with a lid. 2. Add vinegar and food coloring/colored icing gel + essential oil (if using). More coloring = deeper color. 3. Stir/shake until rice is well coated. 4. Spread rice out to dry. 5. Add some objects to the bin. Must haves: something to scoop with (smaller spoons, bigger spoons, colanders, cups, etc.), something to pour into (bowls, containers), funnels. Get as creative as you like - or just keep it simple! Simple works too. :) 5. HAVE SO MUCH FUN. |
|
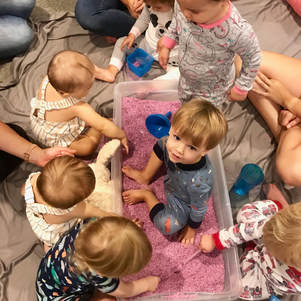
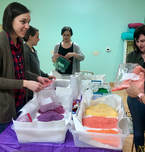
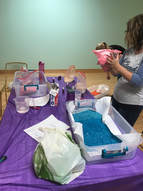
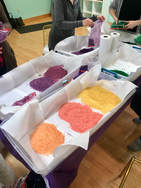
Here's some of my favorite rice sensory bins from classes: